
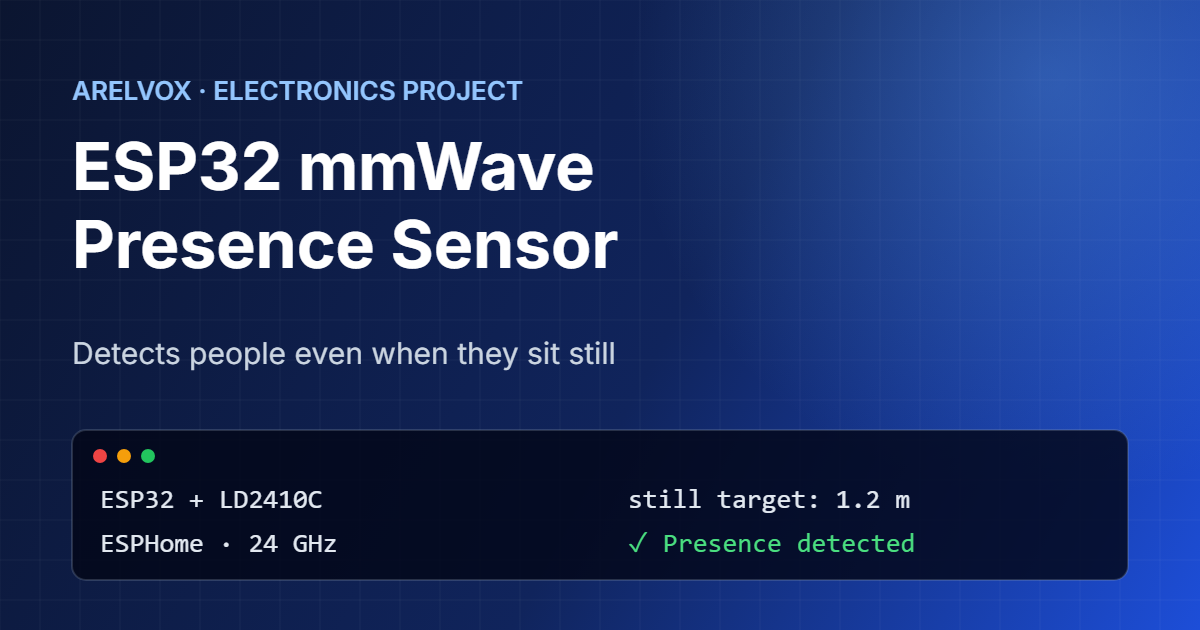
Normal motion sensors have one annoying problem: if you sit still at your desk or on the sofa, they think the room is empty and the light turns off. An ESP32 mmWave presence sensor solves this, because a millimeter-wave radar can detect the tiny movements of your breathing.
In this build log we connect the LD2410C, a 24 GHz radar module that costs about €10, to an ESP32 and set it up with ESPHome. Our complete prototype cost €18.98 in parts, and it was the very first project in our electronics lab.
mmWave Radar vs PIR Sensors
Most cheap motion sensors are PIR sensors. They detect changes in infrared heat, so they react when a warm body moves across the room. However, when you stop moving, the heat pattern stops changing and the sensor no longer sees you.
A millimeter-wave radar works differently. It sends out radio waves at 24 GHz and measures the reflections, so it notices even very small movements, such as your chest rising and falling. As a result, an ESP32 mmWave presence sensor can tell the difference between an empty room and a person reading quietly.
🛒 What you need
As an Amazon Associate, Arelvox earns from qualifying purchases. This does not change the price you pay.
Parts and Cost
This is what we bought for our ESP32 mmWave presence sensor prototype:
- ESP32 WROOM-32 development board (38 pins, USB-C, headers already soldered): €8.99
- HLK-LD2410C mmWave radar module: €9.99
- 4 female-to-female Dupont wires, which we already had
- A USB cable and charger for power
- Optional for testing: an LED and a resistor
So the whole ESP32 mmWave presence sensor came to €18.98. Because both boards come with pins already soldered, you do not need a soldering iron for this project, which makes it a great first ESP32 build.
Wiring the ESP32 mmWave Presence Sensor
The LD2410C sends its data over a serial (UART) connection, so it needs power plus two data wires. To wire the ESP32 mmWave presence sensor, remember that the TX of one board goes to the RX of the other:
- LD2410C VCC → ESP32 5V (VIN)
- LD2410C GND → ESP32 GND
- LD2410C TX → ESP32 GPIO16 (RX2)
- LD2410C RX → ESP32 GPIO17 (TX2)
The radar needs 5 V for power, but its data pins use 3.3 V logic, so you can connect them straight to the ESP32 without a level shifter. For the optional test light, connect an LED with a resistor between GPIO4 and GND. Our LED resistor calculator shows that a red LED on a 3.3 V pin needs about 150 Ω for 10 mA.
ESPHome Configuration
ESPHome has built-in support for the LD2410, so the whole ESP32 mmWave presence sensor is configured in a short YAML file. If you are new to ESPHome, follow the official LD2410 documentation alongside this guide. Create a new device in the ESPHome Device Builder and use this configuration:
esphome:
  name: presence-sensor

esp32:
  board: esp32dev

wifi:
  ssid: !secret wifi_ssid
  password: !secret wifi_password

logger:
api:
ota:
  - platform: esphome

uart:
  id: ld2410_uart
  tx_pin: GPIO17
  rx_pin: GPIO16
  baud_rate: 256000
  parity: NONE
  stop_bits: 1

ld2410:
  uart_id: ld2410_uart

output:
  - platform: gpio
    pin: GPIO4
    id: test_led

binary_sensor:
  - platform: ld2410
    has_target:
      name: "Presence"
      on_press:
        - output.turn_on: test_led
      on_release:
        - output.turn_off: test_led
    has_moving_target:
      name: "Moving target"
    has_still_target:
      name: "Still target"

sensor:
  - platform: ld2410
    moving_distance:
      name: "Moving distance"
    still_distance:
      name: "Still distance"
    detection_distance:
      name: "Detection distance"
The LD2410C talks at 256,000 baud, which is much faster than most serial devices, so do not change that value. Once you flash the board, the logs show the radar’s firmware version. That is the quickest way to confirm the wiring is correct.
Testing the ESP32 mmWave Presence Sensor
On our first test, the log printed the radar firmware version straight away and then reported both a moving target and a still target. To check your own ESP32 mmWave presence sensor, try these three tests:
- Walk around the room. Moving target should turn on and the moving distance should change as you walk.
- Sit down and stay still for a minute. Moving target turns off, but Still target and Presence stay on. This is the test a PIR sensor fails.
- Leave the room and close the door. After a few seconds, Presence should turn off and the LED should go out.
If presence stays on in an empty room, something nearby may be moving, such as a fan, curtains or a pet. In that case, point the sensor in a different direction or reduce its range.
Tuning the ESP32 mmWave Presence Sensor
To tune an ESP32 mmWave presence sensor, start with the radar itself. The LD2410C divides the space in front of it into distance gates of about 75 cm each and lets you set a sensitivity for every gate. For example, you can ignore everything beyond 3 meters so it does not see people in the next room. In addition, the free HLKRadarTool app from the manufacturer connects to the module over Bluetooth and shows a live graph, which makes tuning much easier.
Place the sensor at chest height or on the ceiling, facing the area you care about. The radar can see through thin plastic and wood, so you can hide it inside a case, but metal blocks it completely.
Ideas for Your ESP32 mmWave Presence Sensor
Once your ESP32 mmWave presence sensor works, the fun part begins. Here are some ideas we are considering:
- Turn the desk or bathroom light on and off automatically, without it switching off while you sit still.
- Switch off a heater or the TV when the room has been empty for 15 minutes.
- Wake up a small display by the door only when someone is standing in front of it.
- Count how long you actually spend at your desk each day.
If you use Home Assistant, the sensor appears automatically with all its entities. Otherwise, you can add rules directly in the ESPHome YAML, just like the LED test above.
Next Steps
Next, we will test our ESP32 mmWave presence sensor in an empty room for a full day to check for false alarms, and then design a small case for it. After that, it will control a real light instead of the test LED.
In the meantime, see our second build, the ESP32 washing machine alert, or check the basics in our Ohm’s law calculator.
FAQ: ESP32 mmWave Presence Sensor
What is the difference between mmWave and PIR?
A PIR sensor detects moving body heat, so it misses people who sit still. A mmWave radar detects tiny movements such as breathing, so it knows someone is there even when they do not move.
Can the LD2410C see through walls?
Partly. It can detect through thin materials such as plastic, glass or thin wood, so you may need to limit its range to avoid detecting people in the next room. Metal blocks it.
Does the LD2410C need 5V or 3.3V?
Power it from 5 V. Its UART pins use 3.3 V logic, so you can connect TX and RX directly to the ESP32.
Do I need Home Assistant?
No. ESPHome can run automations on the ESP32 itself, such as turning on an LED or a relay. Home Assistant is optional but makes dashboards and rules easier.
How much does it cost?
Our ESP32 mmWave presence sensor cost €18.98 in parts: €8.99 for the ESP32 and €9.99 for the LD2410C radar.