
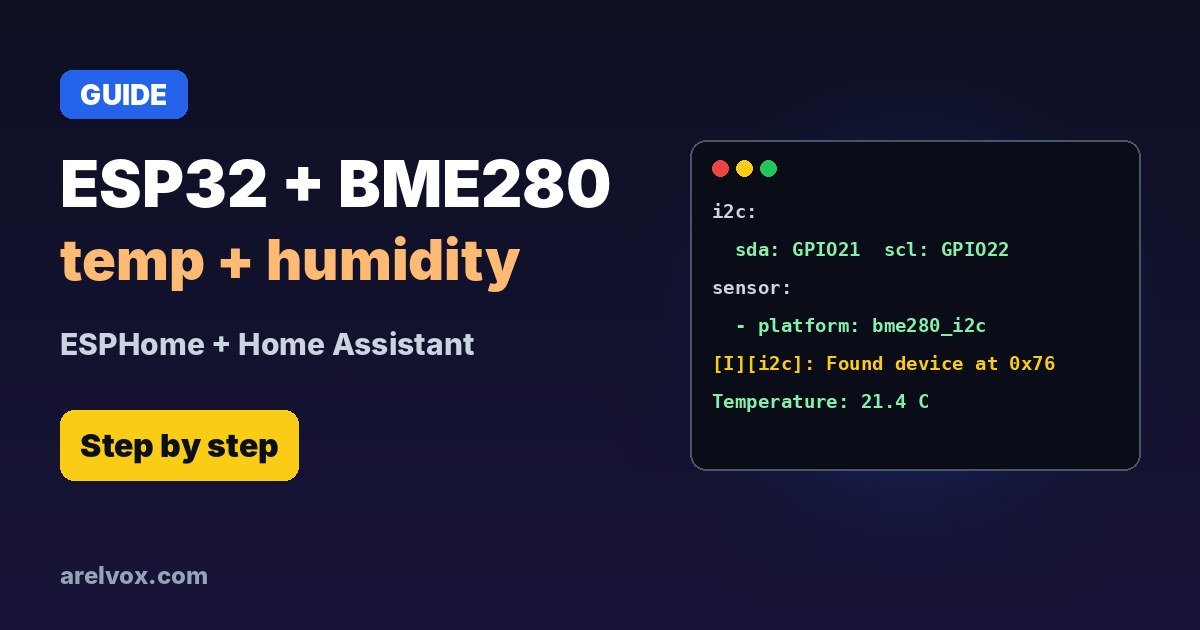
i2c: block and a bme280_i2c sensor to your ESPHome YAML, flash it, and Home Assistant discovers temperature, humidity and pressure automatically.A room temperature and humidity sensor is the perfect first ESPHome project: four wires, one YAML file and no soldering if your module has pins. It costs a few euros and is more accurate than many commercial sensors.
🛒 What you need
As an Amazon Associate, Arelvox earns from qualifying purchases. This does not change the price you pay.
1. Wiring
| BME280 pin | ESP32 pin |
|---|---|
| VIN / VCC | 3V3 |
| GND | GND |
| SDA | GPIO21 |
| SCL | GPIO22 |
Use 3.3 V, not 5 V, unless your module has its own regulator. If you want other pins, check which ESP32 pins are safe to use first.
2. ESPHome YAML
Create a new device in the ESPHome dashboard (here is how to install ESPHome) and add this below the generated Wi-Fi and API settings:
i2c:
  sda: GPIO21
  scl: GPIO22
  scan: true

sensor:
  - platform: bme280_i2c
    address: 0x76
    update_interval: 60s
    temperature:
      name: "Living Room Temperature"
      oversampling: 16x
      filters:
        - offset: -0.5
    humidity:
      name: "Living Room Humidity"
    pressure:
      name: "Living Room Pressure"
Flash it over USB the first time; after that, updates go over Wi-Fi. If the logs say no device was found at 0x76, change the address to 0x77.
3. Add It to Home Assistant
Home Assistant shows a “New device discovered” notification. Click Configure, enter the API key if asked, and the three sensors appear. Put them on a dashboard or use them in automations: turn on a dehumidifier above 65% humidity, or get an alert if a room goes below 16 °C.
Accuracy Tips
- Mount the sensor away from the ESP32: the chip warms up and adds 1–2 °C.
- Compare with a known thermometer for a day and adjust the
offsetfilter. - Keep it out of direct sunlight and away from radiators.
- For a battery sensor, read ESP32 deep sleep and power it only when needed.
Common Problems
| Problem | Fix |
|---|---|
| No device found on I2C | Swap SDA/SCL, check 3.3 V and GND, try address 0x77 |
| Humidity missing | You have a BMP280, not a BME280 |
| Board not detected by the PC | See ESP32 not detected on Windows |
| Readings jump around | Add a sliding_window_moving_average filter |
Frequently Asked Questions
BME280 or BMP280: what is the difference?
The BME280 measures temperature, humidity and pressure. The cheaper BMP280 has no humidity sensor. They look almost identical, so check the listing and the chip marking.
ESPHome says the BME280 is not found. What should I check?
The I2C address (0x76 or 0x77), the SDA and SCL pins, and that the board is powered from 3.3 V. Turn on scan: true in the i2c block and read the logs: it lists every device it finds.
Why is my temperature reading too high?
Heat from the ESP32 itself. Keep the sensor a few centimetres away from the board on wires, and increase update_interval so Wi-Fi runs less. You can also add an offset filter.
Can I run it on a battery?
Yes, with deep sleep: wake up, send a reading, sleep again. See our ESP32 deep sleep guide.
Which pins should I use for I2C on the ESP32?
GPIO21 (SDA) and GPIO22 (SCL) are the defaults on classic ESP32 boards, but almost any free GPIO works in ESPHome.